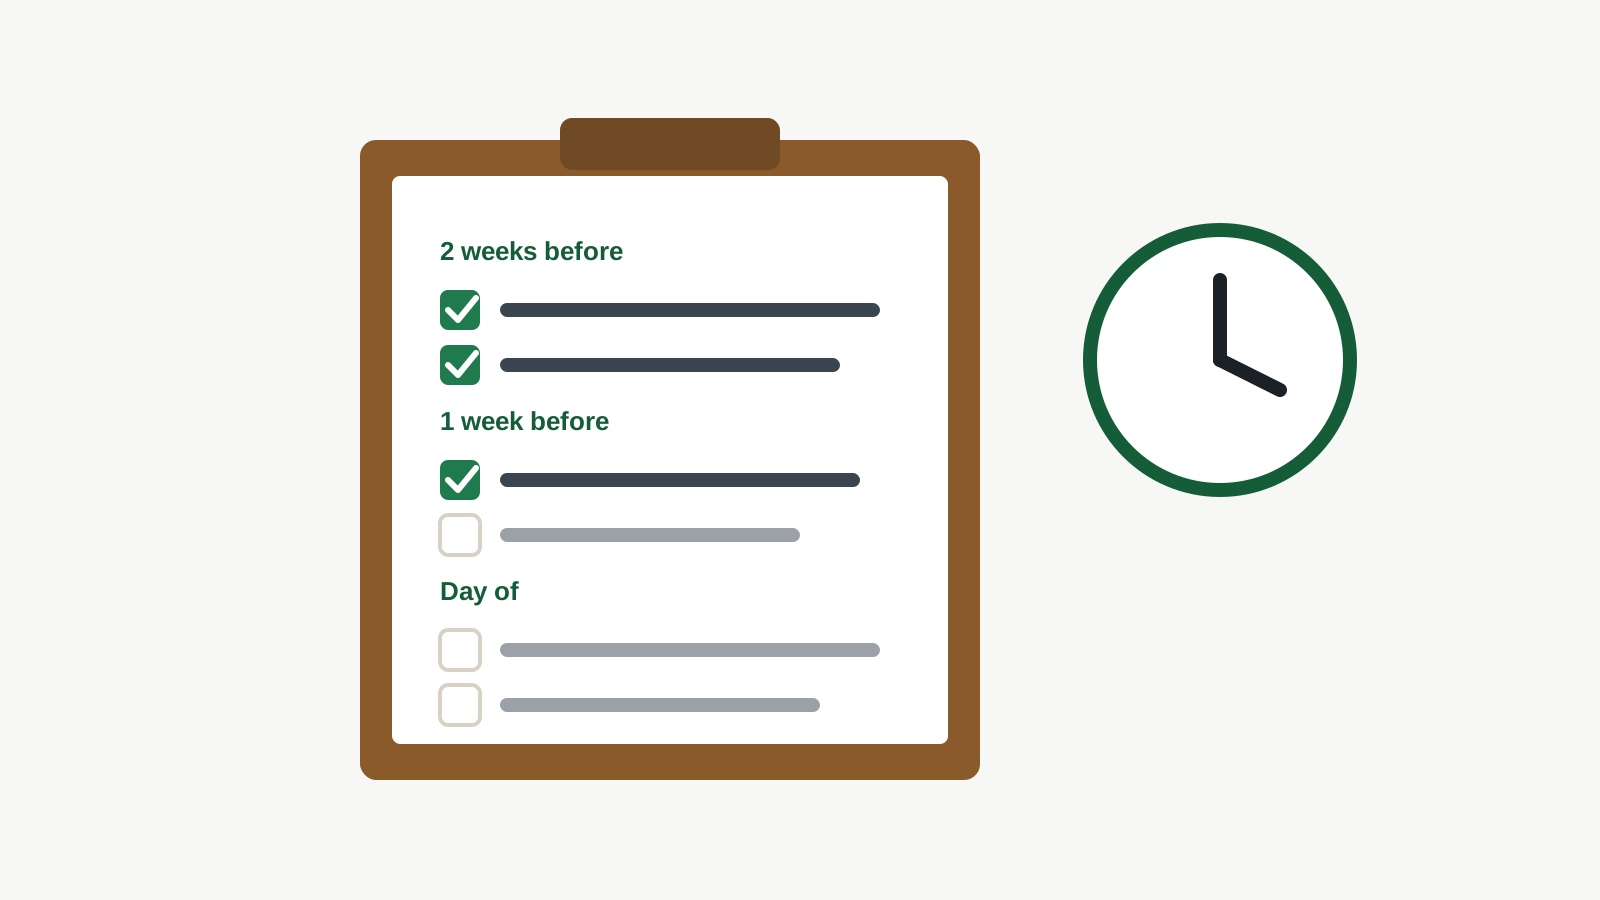
The Complete Garage Sale Checklist
Part of The Complete Guide to Running a Garage or Yard Sale.
A great garage sale is mostly preparation, and the easiest way to prepare is to work down a list. Here's a complete, timed checklist you can follow straight through — from two weeks out to the moment you count your money. Each linked topic has a full guide if you want to go deeper.
Free printable: want it on paper? Grab the printable garage sale checklist and tick the boxes as you go.
How to use this checklist: the exact number of days is a guide, not a rule — a small sale can be pulled together in a few days, while a big multi-family event benefits from the full two weeks. The important part is the order: gather and sort first, then clean and price, then advertise, then set up, then run the day. Skipping ahead (advertising before you know what you're selling, or setting up before you've priced) is what creates the frantic morning-of scramble. Work top to bottom and nothing important slips through. If it helps, save or print this page and physically tick items off — crossing things out is oddly satisfying and makes it obvious what's left.
About two weeks before
- Pick your date and a rain backup — aim for a good season, day, and hour.
- Check your local rules — permits, signs, and sales tax vary by area.
- Ask neighbors or family if they want to join — a multi-family sale draws a bigger crowd.
- Start gathering: go room by room, sorting into sell / donate / keep.
- Set aside boxes and bins to collect items as you find them.
About one week before
- Clean and test items — wipe things down, fold clothes, confirm electronics work.
- Price everything using comparable values; use round numbers and price everything.
- Gather supplies: price stickers, markers, tables, a clothing rack, bags, a cash box, poster board.
- Photograph your best items and post your online listing.
- Make your signs: big letters, a bold arrow, dark on light.
The day before
- Get your cash float ready — plenty of $1s and $5s plus rolls of coins.
- Set out tables and group items by category; hang clothes if you can.
- Put signs out (evening before) at the nearest intersections and every turn in.
- Check the weather one more time and confirm your rain plan.
- Decide your early-bird policy so you're not negotiating rules at dawn.
The morning of
- Carry everything out and arrange it — best/eye-catching items facing the street.
- Put your cash float on your person (apron or money belt), not in an open box.
- Do a final sign check along your route; add any that fell overnight.
- Open a little before your posted time — early birds are your best buyers.
During the sale
- Keep the checkout by you and near the exit; watch the money at all times.
- Be friendly — a hello and "let me know if you have questions" keeps people browsing.
- Haggle reasonably; get more flexible as the day goes on.
- Restock and tidy tables as they empty so it never looks picked-over.
The last hour and after
- Slash prices — "everything half off" or "fill a bag for $2" to clear out.
- Box up the leftovers and take (or schedule) a donation drop-off; keep the receipt.
- Take down every sign along your route.
- Count your money, tidy the yard, and (if multi-family) settle up with everyone.
Work down this list and you'll have covered everything the pros do — for the reasoning behind each step, read the complete guide.
The three things that matter most
If you only nail three items on this entire list, make them these: price everything clearly (unpriced items are lost sales), put out big, arrowed signs at every turn (they're most of your day-of traffic), and have plenty of small change ready (you can't sell if you can't make change). Get those three right and even a rushed sale will do well; miss them and the best inventory in the neighborhood will still have a slow morning. Everything else on the list makes a good sale better — but those three make the difference between a sale and a bust.
Ready to start ticking boxes? The very first item that actually brings the crowd is getting your sale onto the map where local shoppers are already searching, so start there: create your free listing — it only takes a few minutes, and everything else on the list builds on it.